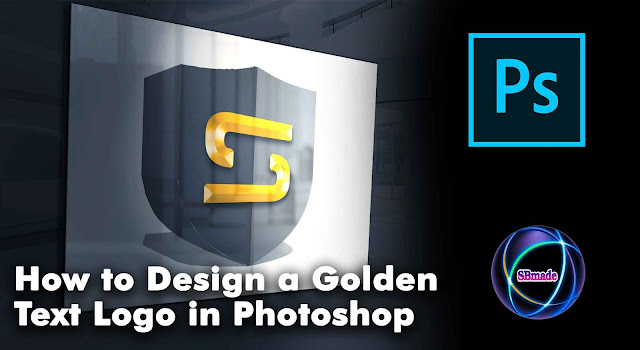
Logo Design is very important to you.Logo can be used for the integrity of something.Logo can be used for business.So today, we create a logo.By creating it, you can also take some experience.Because Logo design is a job.You have the ability to make money by doing it.However, you must acquire some skills before.You can also be a smart designer for Logo design.But everyone is not good at all.So let's create this logo for everybody's knowledge.


You must have an understanding before starting design this logo.It will be useful in the future.And so Logo Design improves your Photoshop usage.You will be able to create new ones.Share this design with your friends and enjoy yourself.
 |
| Design a Golden Text Logo in Photoshop |
Now you saw our design.So now it's necessary to create it.We will give it a step-by-step explanation.So let's look at How to Design a Golden Text Logo in Photoshop
1. First, open Photoshop and press CTRL + N to take new canvas.Then click create new or adjustment layer icon and choose Gradient.Then the setting should be as follows.
 |
| Gradient Background |
2. Then drag and drop image for canvas.Now use the Rectangular Marquee Tool, Select a half of that image.Now use the paint bucket tool to paint the selected part(#333333).Make the remaining part black.It appears as follows.
 |
| Logo Coloring |
3. Next, use the Horizontal Type Tool to type text.Then take it in the middle of the logo.Then right click on the text layer and select the blending option.Then use Bevel & Emboss and set up the text.Next Right click layer and choose Rasterize layer style.Next press Ctrl+U and change the text color.It appears as follows.
 |
| text editing. |
4. Now Right click image layer and choose New 3D Extrusion from Selected Layer.It should be turned over to the left.Then move the text to the Logo.Also, press Ctrl and drag and drop the text.It appears as follows.
 |
| 2D Logo Convert to 3D Logo |
5. Now select Logo layer and Text layer.Then Press Ctrl+E for merge layer.Finally, press Ctrl+M and increase brightness.Then Press Ctrl+S and save Logo
If you are unclear in the above steps, check out the video below.
READ:
- Create Text Masking Effect image with Photoshop
- How to create Photoshop Brushes,Save,Install and more
- Using The Camera Raw Adjustment Tools
- 3D Lion Logo Design with photoshop
So you know about How to Design a Golden Text Logo in Photoshop, Hope you like the post, don’t forget to share it with your friends and leave a comment below if you are facing any problem at any step in the method discussed above.Thank you.


0 comments:
Post a Comment