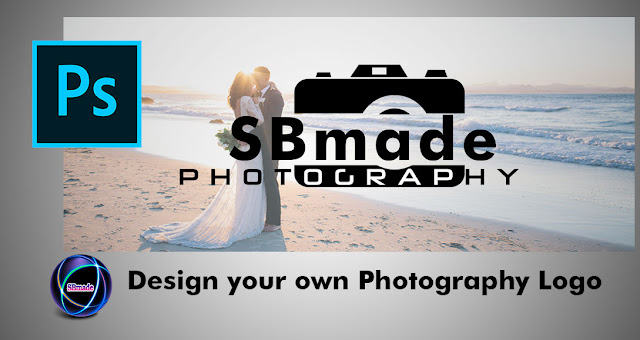
We have brought you something valuable today too.So that's a very pretty logo.And you can use it for your day-to-day work.For example, for a photographer, it's very important.Because a photographer always use his camera.And photo editing is one of the most important things for a photographer.So, you can create a logo for your own design identity.So today we teach how to design a Photography Logo.This Logo can be used for Studio and for a photographer.
You can use the desired name for the present logo.Because we have used the our site name for explain it to you.And we explain to you as a step by step.It is also important for you to have an initial understanding of the shape of this logo.So, the following is the Photography Logo.
Now you have some idea about this design.We used Adobe Photoshop to create this.So, then, let's see how we can create this.
1. First, open Photoshop and press CTRL + N to take new canvas.Then drag the camera image to the canvas and drop it.Click the "Layer 1" and use move tool for change size
 |
| drag the camera image to the canvas |
2. Next, use the Horizontal Type Tool to type name.And use a matching font.Again take the Horizontal Type Tool, type as Photography.And use a matching font.Next using the move tool, adjust your word.
 |
| Type Text and adjust |
3. Now click the "Layer 1" and use the Rectangular Marquee Tool for selecting area.Then use delete key for remove selected area.It appears as follows.(use Ctrl+D for Deselect)
 |
| selecting area and remove |
4. Next we must merge all text layers.To do this, click the Ctrl key with text layer and press Ctrl + E.Then click on the merged layer and use the Ctrl + U to turn black.It appears as follows.
 |
| merge text layers and convert black color |
5. Now click the merged text layer and use the Rectangular Marquee Tool to select the bottom of the camera.Then press Ctrl + i to enter the white for text.
 |
| Text whitening |
6. Now you need to attach a wedding photo to the background.Drop it and drop it on canvas.Then move the layer to the bottom and apply opacity to about 40.
 |
| add background |
7. Now all right.Finally save your Photography Logo.
If you are unclear in the above steps, check out the video below.
READ:
- Create Text Masking Effect image with Photoshop
- How to Whiten or Lighten Skin with Photoshop
- How to Enable Camera Raw in Adobe Photoshop Cs
- How to create Photoshop Brushes,Save,Install and more
- create facebook frame
So you know about How to Design your own Photography Logo. Hope you like the post, don’t forget to share it with your friends and leave a comment below if you are facing any problem at any step in the method discussed above.Thank you.


0 comments:
Post a Comment